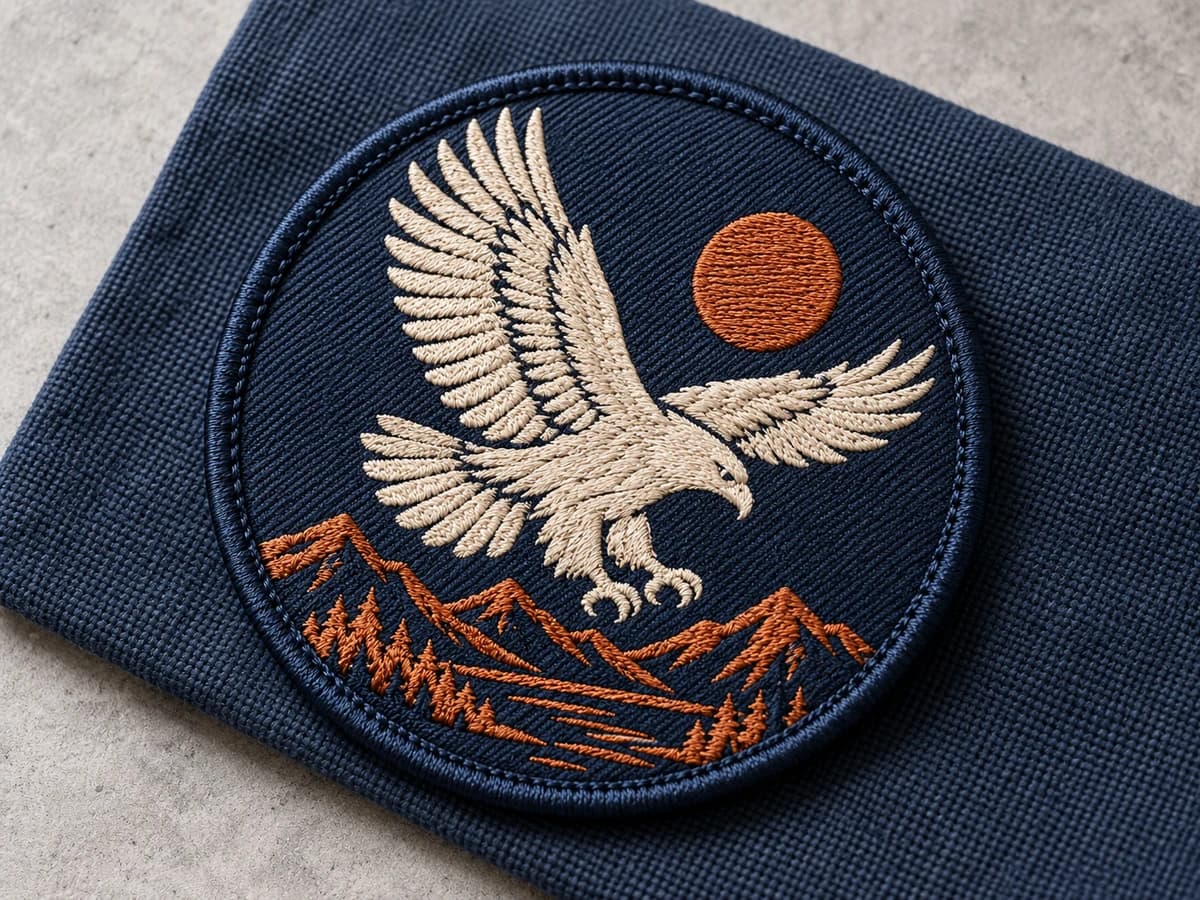
Illustrative patch imagery. Actual construction and application depend on your approved specifications.
Further reading: iFixit hand-stitching guide. Check instructions for your actual patch and garment; the illustrations here do not document a physical sewing test.
Check the patch and garment first
This guide concerns attaching a decorative patch, not repairing protective equipment or certifying a garment. Read the garment care instructions and ask whether the finished patch has an edge or sewing channel that can be stitched. A molded or heat-sealed patch may need different handling from an unbacked fabric emblem.
Look behind the placement before threading a needle. Pockets, linings, zippers and multiple garment layers can be caught accidentally. Coated or waterproof clothing may be affected by needle holes. If access or compatibility is uncertain, ask the garment supplier or a suitable alterations service before starting.
Gather suitable supplies and plan access
Use a needle and thread suited to the garment and patch edge, small scissors, and suitable pins, clips or temporary positioning stitches. Test whether the needle can pass through the intended edge without forcing it. A support such as a thimble can help with controlled handling; keep the needle path away from your fingers.
Work with the garment off the body on a stable surface. Open a jacket or bag so you can keep the target layer separate. Do not pin or sew while someone is wearing the item.
Position the patch at its finished size
Place the patch where it will actually be worn, allowing room for seams, closures and movement. Check orientation and compare both horizontal and vertical placement, particularly on a chest or sleeve. A paper outline can help before the patch is fixed in position.
Secure the patch temporarily so it will not rotate while you stitch. Check the reverse side again: the mounting layer should remain separate from a pocket bag or lining that must stay free.
Attach the edge with controlled stitches
Thread the needle and secure the starting end. Bring it from the reverse side into the intended stitch area near the patch edge. A small running stitch can follow a suitable fabric border; a whip stitch can cross an appropriate edge. Use the border or channel specified for your patch rather than punching through a raised logo.
Continue around the perimeter in manageable sections. Keep spacing and tension reasonably even, securing the patch without pulling the garment into puckers. Check the reverse side repeatedly and reposition the fabric instead of forcing the needle through resistance. Corners and curves may need smaller movements to keep the patch flat.
Secure the end and inspect the attachment
Finish on the reverse side and secure the thread with small reinforcing stitches and a knot suited to the work. Trim loose thread without cutting the garment or patch border. Remove temporary positioning materials.
Inspect the full perimeter from both sides. Check for loose edges, puckering and accidentally joined layers, and make sure pockets and closures still work. Address a loose section before normal use; adding more tension to the whole border is not a substitute for correcting the problem area.
Care and ordering considerations
Follow the garment and patch care instructions after attachment. There is no universal stitch spacing, needle size or wash routine for every construction. A heavier patch or inaccessible placement may be better handled by a suitable sewing professional.
For a new PatchInUSA order, share artwork, finished dimensions, quantity per design and the actual garment or gear. Orders start at 10 pieces, with a digital proof included with the order. Ask about a sew-on edge or sewing channel before approving the specification. This illustrated article does not claim a physical production test or a particular attachment service.
Related Custom Patch Guides
View All 19 Guides →Custom Embroidered Patches
Starting at 10 pcs · Free digital artwork proof included with your order.