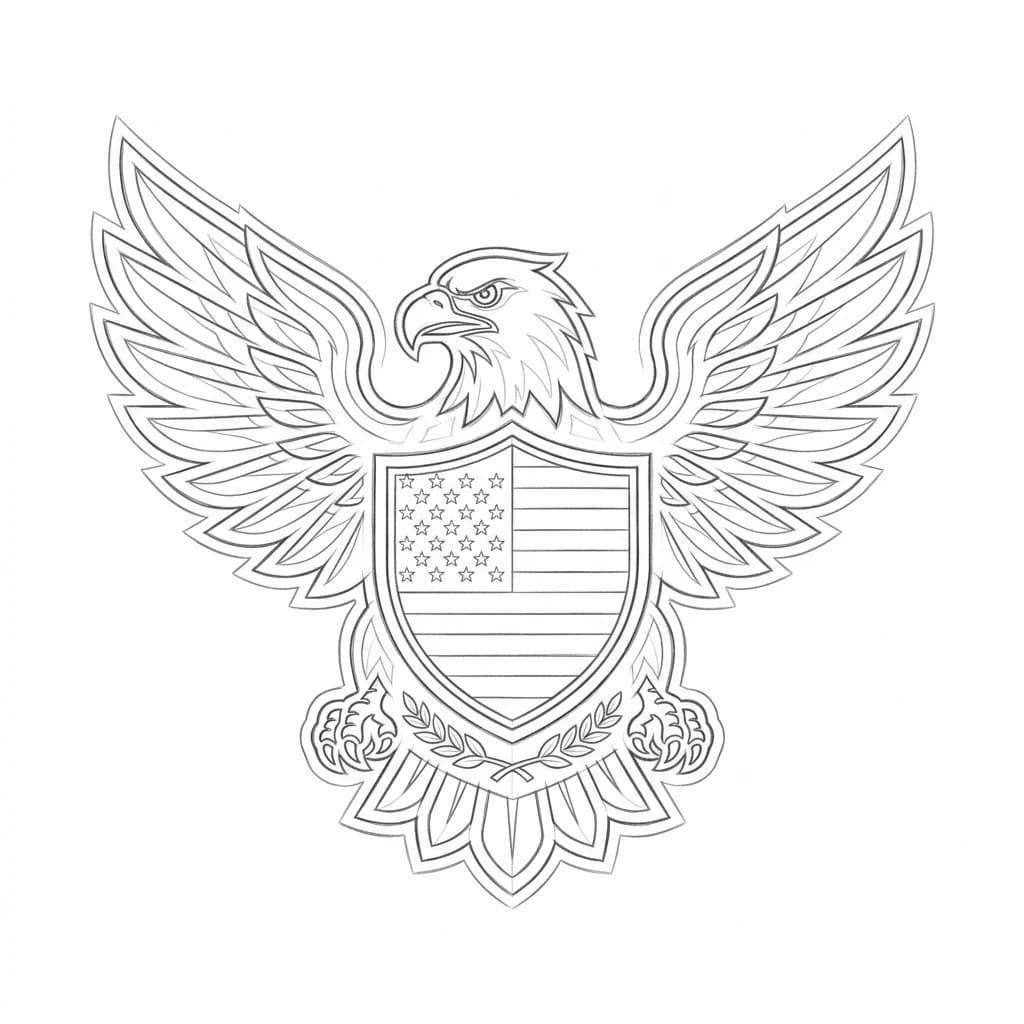
Establish High Contrast & Defined Silhouettes
Patches are viewed from a distance on moving garments. Simplify complex shading, minimize faint gradients, and maintain solid contrasting shapes between background twill and foreground artwork.
Typography and Stroke Considerations
Thread and needles operate within physical mechanical limits. Very small text or ultra-thin strokes can lose definition when stitched.
If your design features fine details, stepping up your patch size or selecting woven construction can help maintain clarity. Readability depends on your design scale and confirmed digital proof.
Border Selection: Merrowed vs Laser-Cut
A classic merrowed border wraps over the edge of the patch in a rounded overlock stitch, ideal for regular geometric shapes (circles, squares, shields, rectangles).
For custom die-cut contour shapes with sharp points, a heat-sealed laser-cut border seals edge twill without bulk.
Artwork Submission & Proof Approval
Vector artwork (AI, EPS, PDF, SVG) provides clean production lines, and high-resolution raster files (PNG, JPG) can also be evaluated by our digitizing team.
Orders start at 10 pieces and include a free digital proof for review before physical manufacturing begins. USA shipping available; confirm costs in your quote.